
Buy Your Next Car, Truck Or SUV For Thousands Less
Did you know that each and every day thousands of vehicles are sold for between 20-60% of their retail value? These late model cars, trucks and SUV's are liquidated by banks, insurance companies, police departments, military surplus dealers and other government agencies. Auto Salvage And Repo USAs was created to connect consumers with the cheapest and the best deals on popular cars and trucks from these little known sources. We educate consumers just like you on how to source these hard to find deals.
Discover how to find these vehicles, run title checks, book vehicle transport and bring home your dream car for thousands (sometimes tens of thousands) less than what you would pay at your local car dealer.
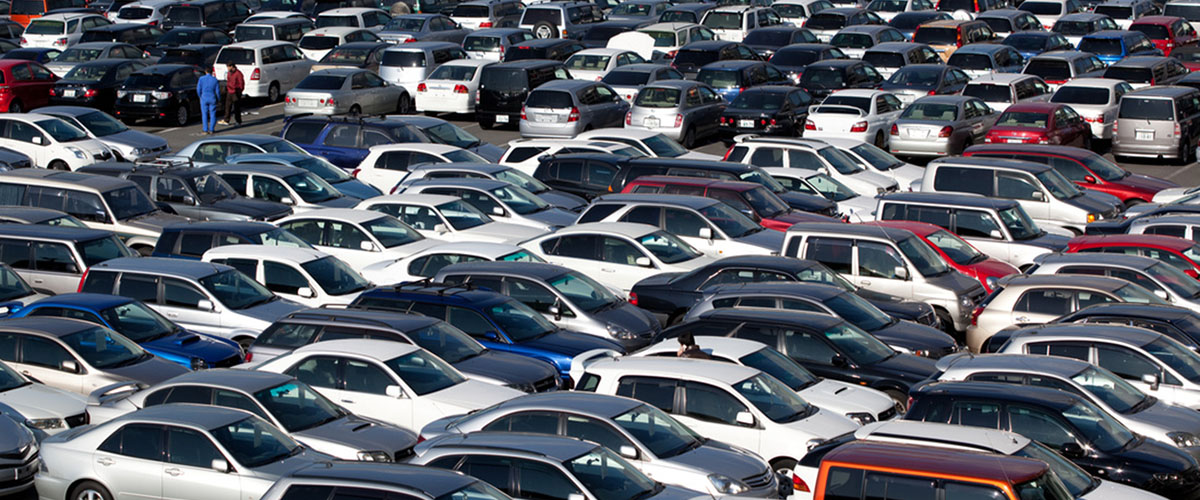
There are over 100,000 vehicles at deep discounts in inventory across the nation at any given time. These vehicles are often in B+, or A+ drivable condition, mechanically sound and between 2-10 years old. These cars and trucks can be had at incredible deals because the agencies selling them just need to liquidate them and get them off their books. Insurance companies take in repairable vehicles, and sell them off to the highest bidder. Government agencies seize vehicles regularly and sell them off for huge discounts. Some vehicles sell for as low as $200!
You'll find a huge collection of articles in our blog related to buying and selling cars, and a handful of useful downloadable PDF guides on everything from negotiating the best deal, to common vehicle maintenance.


2008 Cadillac CTS
Book Value: $7,850
Purchase Price: $700
Savings: $7,150

2011 Cadillac Escalade
Book Value: $14,500
Purchase Price: $2,400
Savings: $12,100

2014 Ford Explorer (Ex-Police)
Book Value: $14,900
Purchase Price: $3,200
Savings: $11,700

2017 Ford F150 Supercrew
Book Value: $26,300
Purchase Price: $11,850
Savings: $14,450

2016 Chrysler 300S
Book Value: $17,500
Purchase Price: $8,600
Savings: $8,900

2011 Dodge Charger
Book Value: $7,500
Purchase Price: $1,400
Savings: $6,100
Where Do These Vehicles Come From?
Repo Vehicles
You've probalbly heard of the reality tv show "Repo Men". Vehicle repossessions are actually quite frequent, often done by lenders (like banks and other financial institutions) against people who have taken out a car loan and have been unable, or unwilling to make payments for an extended period of time. The banks are not car dealers, they just want to recover as much of the outstanding loan as possible, so they put these vehicles up for auction with little or no reserve. These are often 2-5 year old vehicles in good, drivable condition that can be purchased, registered and driven right away.
Salvage And Rebuilt Title Vehicles
Salvage vehicles are cars and trucks that have been damaged in an accident, natural disaster, or may have even been stolen and recovered. These vehicles can have anywhere from little damage, to being a complete write off and only sold for parts. These vehicles are almost always sold off for pennies on the dollar by the insurance companies, that, like the banks, want to recover as much of their value as possible. However, its not uncommon for salvage vehicles to sell for 10-30% of their retail price. The key is that a salvage vehicle will need repairs before it can be legally put back on the road, which then gains it a "Rebuilt" title. Some vehicles for sale already have rebuilt titles, and are ready to buy and drive.
Ex-Police And Military Vehicles
Previous law enforcement vehicles are one of the most popular types of deals that our visitors are looking for. These are often clean title, B+ or A- condition vehicles that have been used by local police departments, government agencies (like the FBI, CIA, DEA, etc) in their fleets. They are the most popular domestic fleet vehicles, like Ford Taurus's, Expeditions, Explorers And F150's, as well as Dodge Chargers and RAM's as well as the popular line of General Motors SUV's like Tahoes and Excursions, and larger four door sedans. These vehicles are often high mileage, but well cared for with regular maintenance by the fleet maintenance operators of those agencies. The US military also sells of a huge amount of heavy duty vehicles and equipment like Hummers (Humvees), HD pickup trucks and industrial equipment.
Government Seized Vehicles
Various government agencies seize vehicles each and everyday. Sometimes these vehicles have been involved in a crime, but more often than not a criminal has been convicted and their assets are seized by the government to pay restitiution. All the assets go to various auctions and sell for as much, or as little, as they can go for. These are often the broadest range of vehicles, from low end cars all the way up to $1M+ exotic cars. These vehicles range in age and condition but are often higher end.
The Latest From Our Blog
Visit The Blog For A Comprehensive Database Of Automotive Related Articles
By: Auto Salvage And Repo USA
01 August 2020
Auto Auctions 101
New to auto auctions? Want to get the best deal? Let our Auto Auctions 101 article tell you what you need to know.
By: Auto Salvage And Repo USA
15 July 2020
Buying Your First Car

Buying a car for the first time can be daunting, and its easy to get scammed. Learn what you need to know here.
By: Auto Salvage And Repo USA
04 July 2020
Electrifying A Car
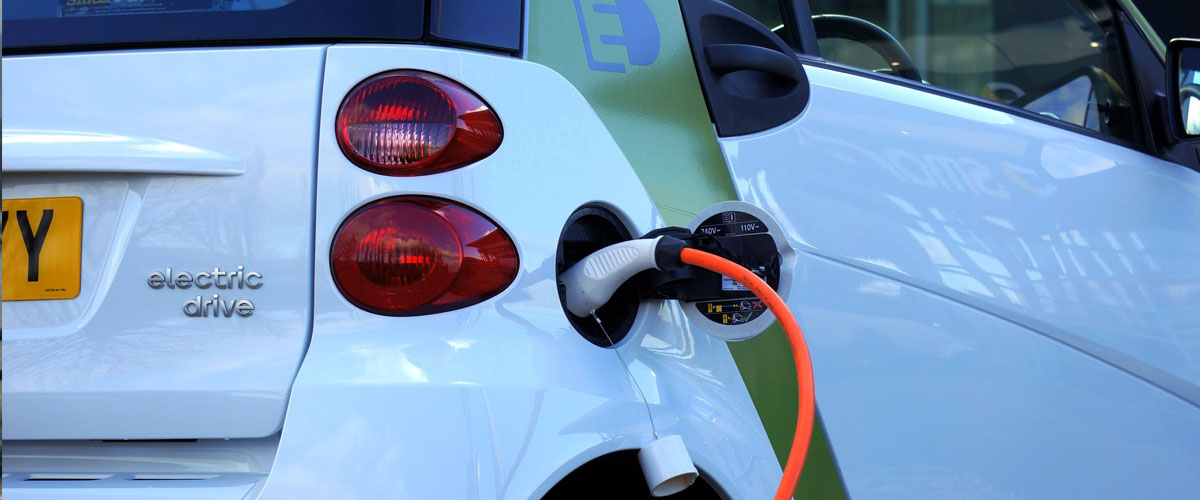
Everyone wants an electric car, but not everyone can afford one. Is a conversion from gas to electric more affordable?